Troubleshooting: Fixing the Blue Screen of Death During a Machine Check on Windows 11
Critical Service Crash to Blue Screen of Death? Solving Windows 11 Issues with Ease

Many Windows 10 users have recently experienced an issue with their computers. What happens is they get a blue screen of death with an error message that says “CRITICAL_SERVICE_FAILED”. A lot of the time, they’re stuck in this error and can’t get to the login screen.
If you’re also experiencing this error, you’re no doubt very frustrated. But don’t worry! This blue screen error is fixable…
Try these fixes
You may not have to try them all; just work your way down the list until you find the one that works for you.
- Run Startup Repair
- Disable drivers signature enforcement
- Update your device drivers
- Reset your Windows Update components
- Run System Restore
Fix 1: Run Startup Repair
This is the first thing you should try when you see the CRITICAL SERVICE FAILED blue screen error. To run Startup Repair:
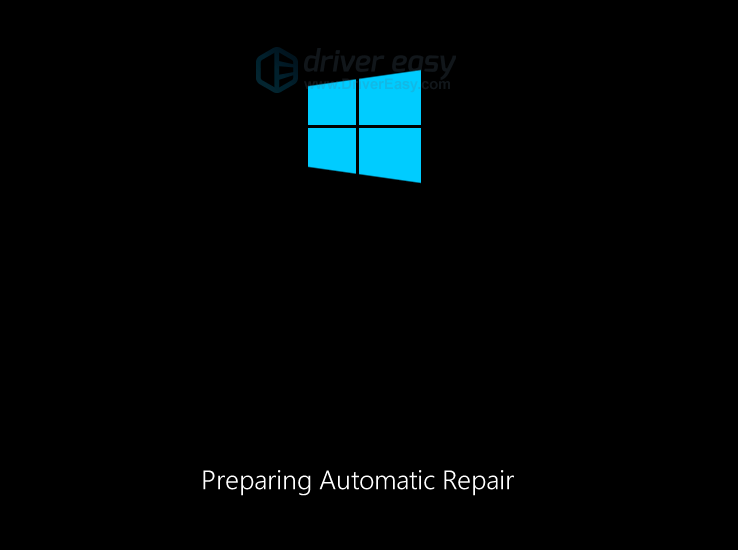
- Turn on your computer, and then when your Windows starts loading, turn it off immediately. Do this until you see a message that says “Preparing Automatic Repair “.

- ClickAdvanced Options .
If you don’t have the Advanced Startup Options menu, read this post (the “Case 2” instructions) for other ways to get to it. You can’t perform the rest of the steps below until you can access the Advanced Startup Options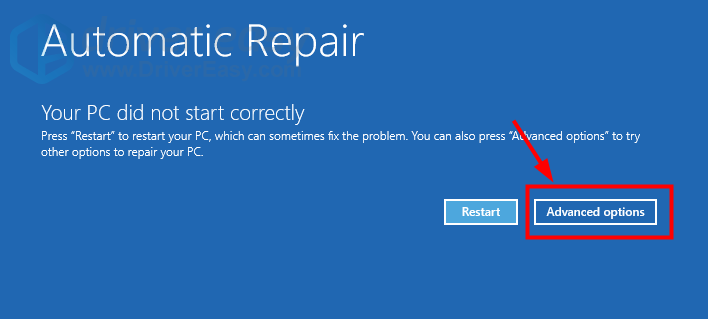
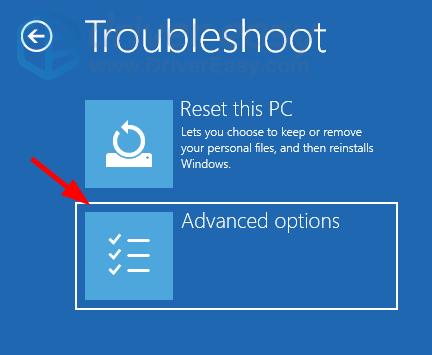
3. Click Troubleshoot .
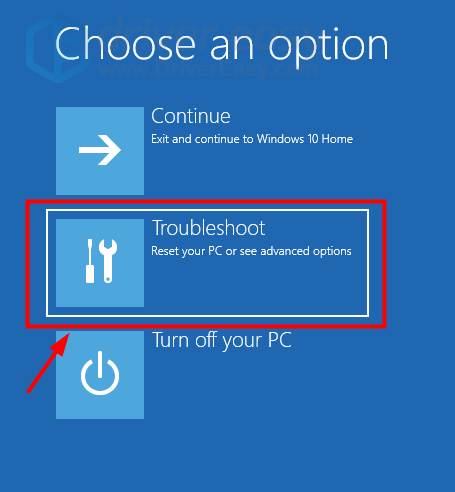
4. SelectAdvanced options .
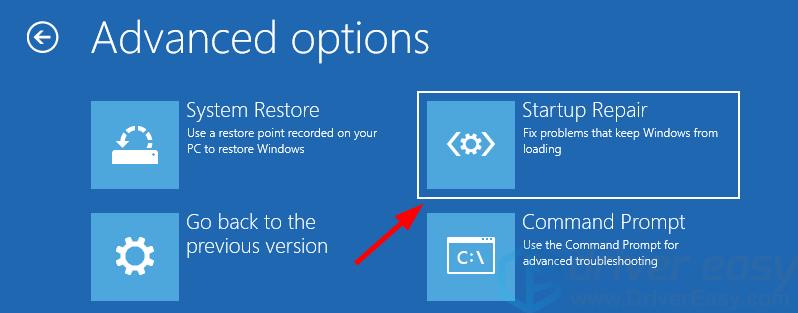
5. SelectStartup Repair .
6. Choose your account name and enter your password.
- Wait for the process to be complete.
Hopefully this fixed your blue screen error. But if not, then move on to Fix 2, below…
Fix 2: Disable drivers signature enforcement
You can bypass this error with the “Disable drivers signature enforcement” startup option. To do so:
- Turn on your computer, and then when your Windows starts loading,turn it off immediately. Do this until you see a message that says “Preparing Automatic Repair “.
- ClickAdvanced options .
If you don’t see the Advanced Startup Options menu, read this post (the “Case 2” instructions) for other ways to get to it. You can’t perform the rest of the steps below until you can access the Advanced Startup Options
3. Click Troubleshoot .
4. SelectAdvanced options .
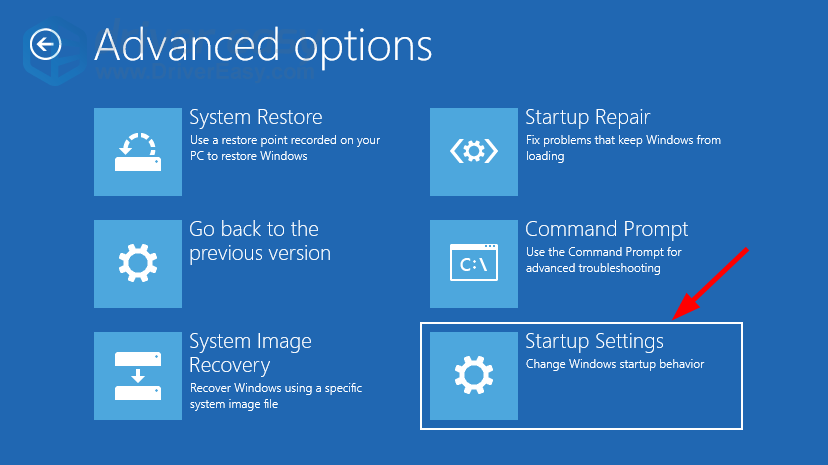
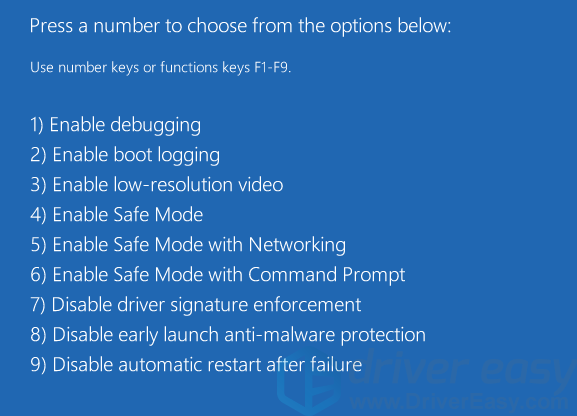
5. SelectStartup Settings .
6. Click theRestart button.
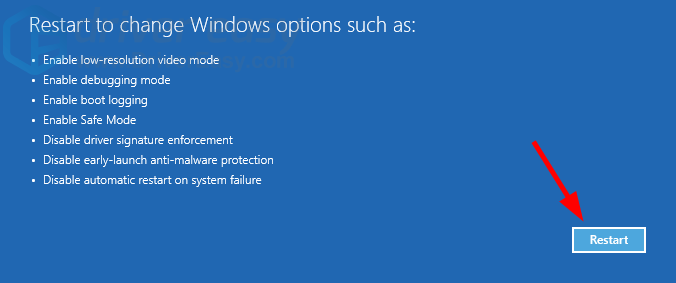
7. Press the7 orF7 key on your keyboard.
This should help you get through this error. But it may occur again after restarting your computer. To fix it permanently, you should try the fixes below…
Fix 3: Update your device drivers
Perhaps you’re having this CRITICAL SERVICE FAILED blue screen error because the drivers on your computer are wrong or out of date. To fix this issue, you should update your device drivers
Before updating your drivers, you should either get into your Windows 10 system with the fixes above, or the instructions below to get intosafe mode :
- Turn on your computer, and then when your Windows starts loading,turn it off immediately. Do this until you see a message that says “Preparing Automatic Repair “.
- ClickAdvanced options .
If you don’t the Advanced Startup Options menu, read this post (the “Case 2” instructions) for other ways to get to it. You can’t perform the rest of the steps below until you can access the Advanced Startup Options
3. Click Troubleshoot .
4. SelectAdvanced options .
5. SelectStartup Settings .
6. Click theRestart button.
7. Press the5 orF5 key on your keyboard.
Now you should be able to update your drivers.
You can update your drivers manually. But if you don’t have the time, patience or skills, you can do it automatically with Driver Easy .
You don’t need to know exactly what system your computer is running, you don’t need to risk downloading and installing the wrong driver, and you don’t need to worry about making a mistake when installing. Driver Easy handles it all.
- Download and installDriver Easy .
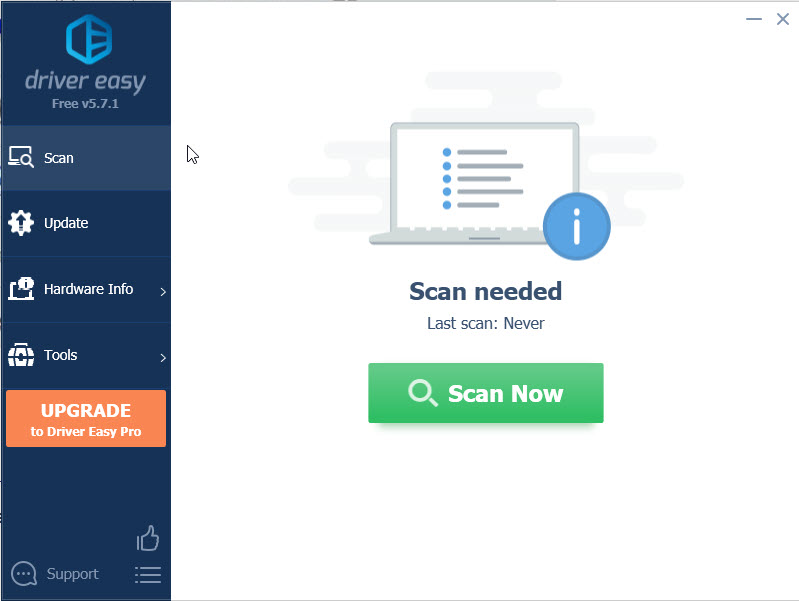
- RunDriver Easy and click the Scan Now button.Driver Easy will then scan your computer and detect any problem drivers.
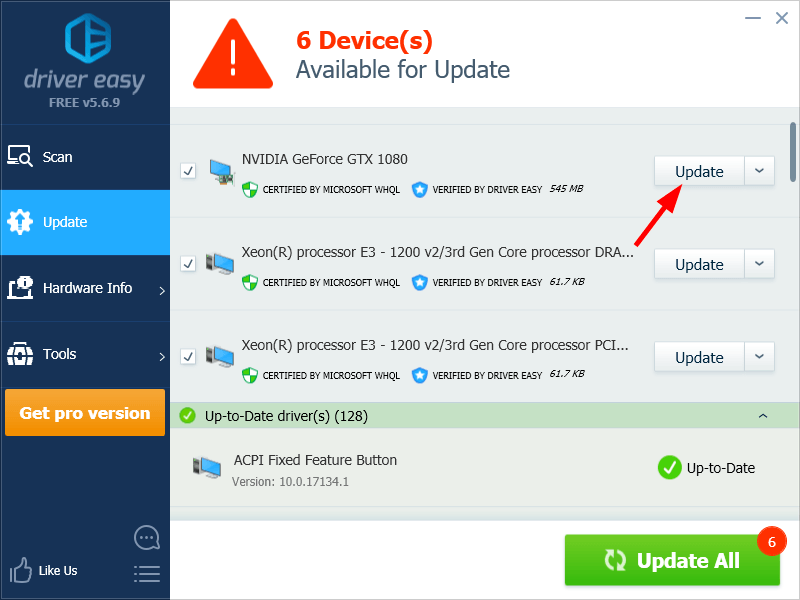
3. Click theUpdate button next to_your device_ to download the correct version of its driver, then you can manually install it. Or click the Update All button at the bottom right to automatically update all the drivers. (This requires the Pro version — you will be prompted to upgrade when you click Update All. You get full support and a 30-day money-back guarantee.)
You can do it for free if you like, but it’s partly manual.
If you need assistance, please contact Driver Easy’s support team at [email protected] .
Fix 4: Reset your Windows Update components
You may also be having issues with Windows Update so you get this blue screen error. To repair Windows Update, you should reset its components.
Before resetting the Windows Update components, you should either get into your Windows 10 system with the fixes above, or the instructions below to get intosafe mode :
- Turn on your computer, and then when your Windows starts loading,turn it off immediately. Do this until you see a message that says “Preparing Automatic Repair “.
- ClickAdvanced options .
If you can’t see the Advanced Startup Options menu, read this post (the “Case 2” instructions) for other ways to get to it. You can’t perform the rest of the steps below until you can access the Advanced Startup Options
3. Click Troubleshoot .
4. SelectAdvanced options .
5. SelectStartup Settings .
6. Click theRestart button.
7. Press the4 orF4 key on your keyboard.
Now you should reset your Windows Update components.
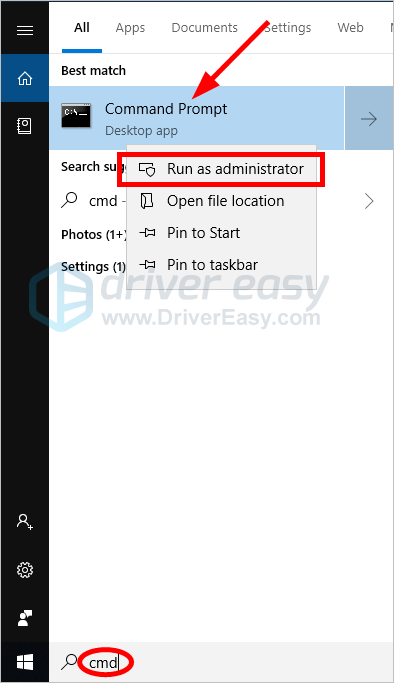
Click theStart button in the lower-left corner of your screen, then type “_cmd_ “. In the list of results, right-clickCommand Prompt and selectRun as administrator .
In Command Prompt, type the following lines of command and pressEnter on your keyboard after typing each:
ren %systemroot%\softwaredistribution softwaredistribution.oldren %systemroot%\system32\catroot2 catroot2.old
Restart your computer
If the blue screen error is gone, great! But if not, then you may need to try the next fix, below.
Fix 5: Run System Restore
If none of the fixes above worked for you, then you should try running System Restore to revert your system to a previous state.
In order for System Restore to fix your blue screen error, you should have a system restore point created before the error occurs.
- Turn on your computer, and then when your Windows starts loading, turn it off immediately. Do this until you see a message that says “Preparing Automatic Repair “.
- ClickAdvanced Options .
If you don’t the Advanced Startup Options menu, read this post (the “Case 2” instructions) for other ways to get to it. You can’t perform the rest of the steps below until you can access the Advanced Startup Options
3. Click Troubleshoot .
4. SelectAdvanced options .
5. SelectSystem Restore .
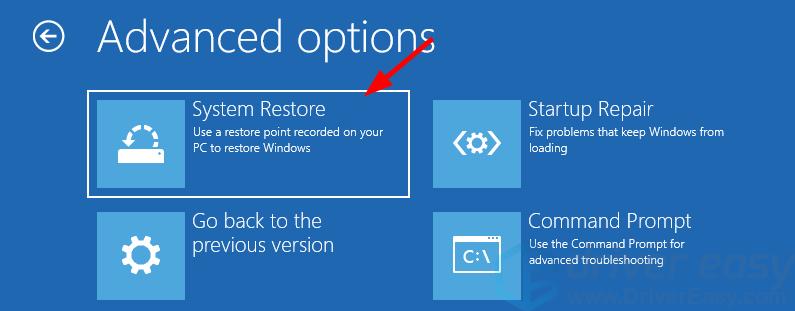
6. Follow the on-screen instructions to restore your Windows 10 system to a restore point.
Hopefully, one of the fixes above helped you get rid of your CRITICAL SERVICE FAILED blue screen error. If you have any questions or suggestions, feel free to leave us a comment below.
Also read:
- [New] Dive Into Haul Video Making A Beginner's Editing Roadmap for 2024
- [New] Free Game Music Websites – A Comprehensive Guide
- [New] Tips for Smooth Screen Sync in Google Meet
- [SOLVED] ntoskrnl.exe BSOD Blue Screen Error
- [Updated] In 2024, Connecting with Real-Time TikToks Practical Guide
- 四大功能:如何有效地將數據從Windows 8.1轉移到Windows 11
- APC Index Mismatch Bluescreen Woes? Here's How You Can Resolve It!
- Effortless Solutions to Unstuck Windows 1지어 10 Threads From Stubborn Driver Errors
- How to Diagnose & Fix Ethernet Problems on Your Windows 11 or Windows 7 Computer
- In 2024, How to Enable, Disable, and Change Safari Location on Apple iPhone 15 | Dr.fone
- Top Convert2MP3 Alternativen - Jetzt Verfügbar: Lösungen Für MP3-Konvertierung Ohne Einschränkungen
- Troubleshooting Fixes for the Infamous Driver PNP Watchguard BSOD Issue
- Understanding and Resolving Multiple Interrupt Requests Resulting in Blue Screen Error (BSoD)
- Title: Troubleshooting: Fixing the Blue Screen of Death During a Machine Check on Windows 11
- Author: Brian
- Created at : 2025-02-13 17:25:08
- Updated at : 2025-02-19 16:15:52
- Link: https://blue-screen-error.techidaily.com/troubleshooting-fixing-the-blue-screen-of-death-during-a-machine-check-on-windows-11/
- License: This work is licensed under CC BY-NC-SA 4.0.